The Evolution of your Wingfoiling Practice
Wingfoiling is a sport where the basics can be acquired fairly quickly for kitesurfers, and especially for experienced windsurfers. Novices in the world of watersports will need more time, as knowledge of the wind and balance on the board are very important steps, and not always so easy to understand. Once these initial phases have been assimilated, the learning curve will be much faster than windsurfing, but probably less than kiteboarding for many people.
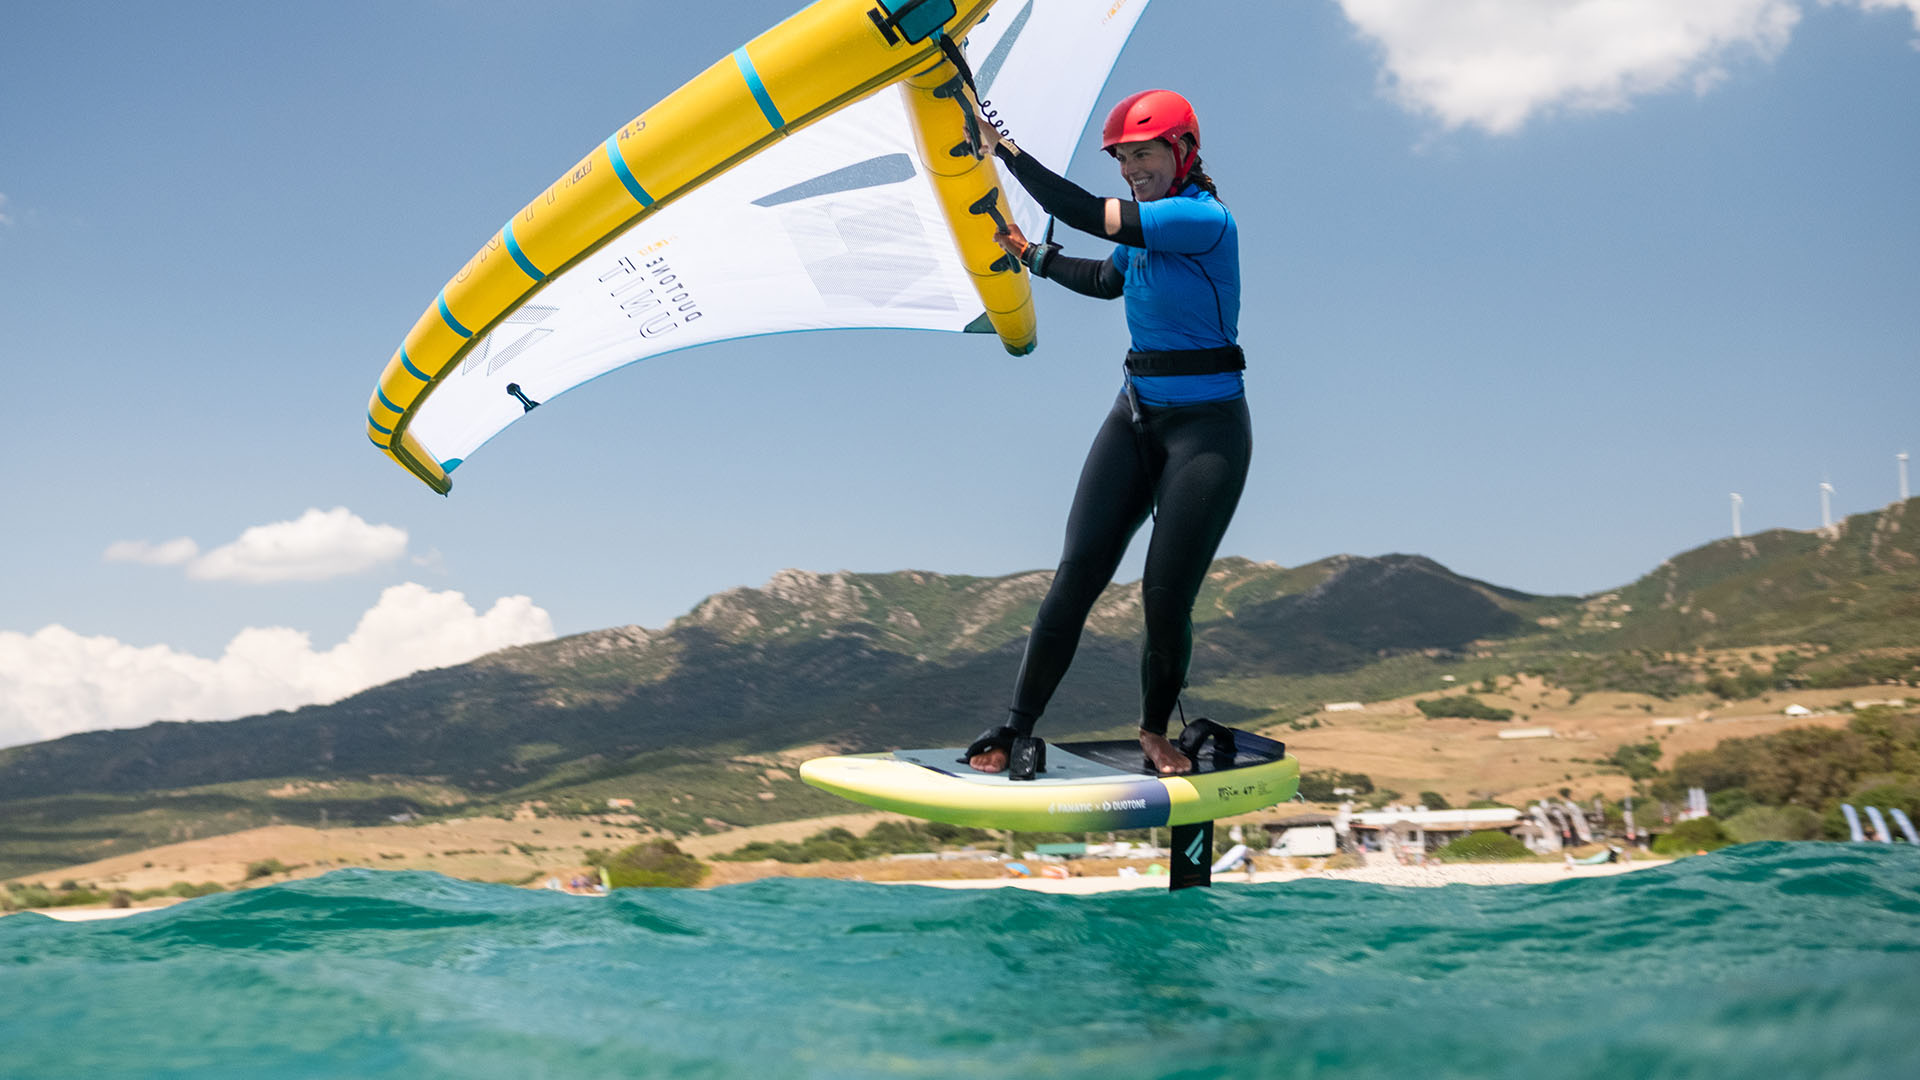
Learning to manoeuvre the wing, hold on to the board, and to steer on the water with all of the equipment is not the longest part of the wingfoiling learning process. Flying over the water for a certain distance without falling is a completely different program, but quite doable after a few hours of practice. Once you have learned where to place your feet and how to hold the wing, you will be able to control the trim of the board (for stability). Then you can move on to pumping, carving and free-flying (surfing the swell without the need for the wing), followed by jibing (turning away from the wind) and tacking (turning into the wind), all whilst continuing to fly.
Mastering the Wingfoil Jibe: Steps and Tips
One of the most advanced wingfoiling techniques is the ability to turn! Mastering the jibe is a crucial step as it is the most widely used and easiest transition. It enables you to change direction while losing as little speed as possible, so that your board does not touch the surface of the water.
Once you have mastered the steps, practice making zig zags on the water. This will give you the impression of turning, but without going all the way around. The advantage is that it will give you an idea of how your equipment reacts in terms of steering, speed and stability.
Before you start your wingfoiling jibe, it is essential to have a decent speed. Do not be afraid to accelerate, because the slower you go the more likely you are to crash! Your upper body should follow the movement of the wing, which should be almost over your head halfway through the transition. As for your legs, they do not move until you pass through the wind. You only change hands once the wing is horizontal, without power and therefore neutral. Once you have passed this stage, you reset your wing to the riding position, and then your lower body can follow. Essential: Never take your eyes off of your wing! It is much more important to look at it than to look at your legs.
How to perform your first jumps and aerial moves
The first wingfoiling tip to give you if you want to jump is to install the three footstraps on your board, which seems obvious.
The faster you go, the easier it will be to get up in the air! Also, catching a small head-on wave or swell will help. Look around you to make sure that there is nobody around and no obstacles. Next, make sure that your feet are firmly planted in the footstraps (but not too tightly), pump the wing if you need more speed while heading closer to the wind (upwind), legs bent, and off you go for the big take-off! Then, as you begin your jump, press your back leg down to help the foil rise completely out of the water.
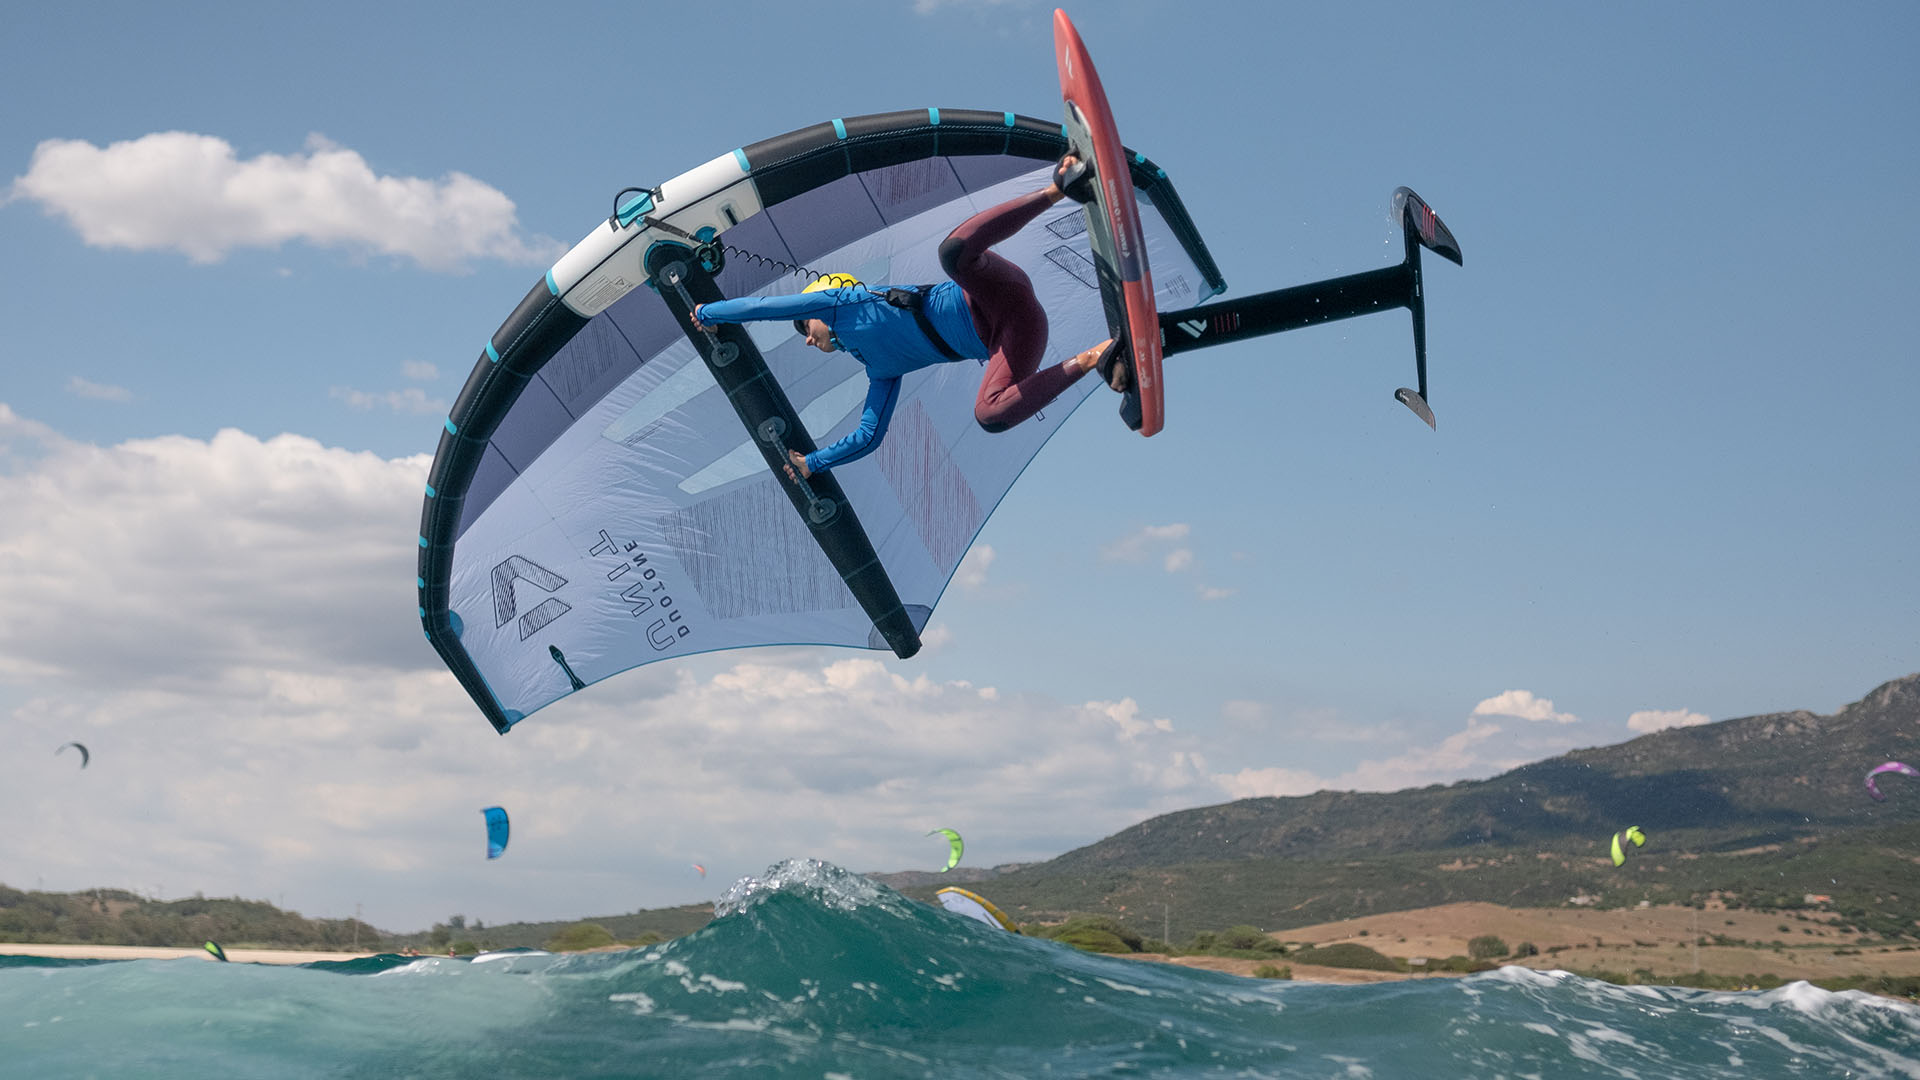
Once in the air, relax your legs by pushing on the board to go even higher and using the wing as a parachute to manage your flight above the water’s surface. Keep your legs and body hunched for better control of all of your equipment. If you think that your jump is going to go wrong, pull your feet out of the foot straps as if you were trying to throw your board with your feet, while keeping your hands on the handles of your wing.
On landing, gradually relax your legs, still with the wing above your head, before your foil touches the surface of the water again. It is at this point, however, that you will need to flex your legs again to cushion the landing in order to avoid landing completely flat. It is better to land on the tail.
For the more adventurous, and especially once you have mastered the simple jump, you can try your hand at tricks such as the air jibe (180° rotation while jumping), the railey (or scorpion: simple jump while bringing the board back behind you), the donkey kick (twisting jump), the frontside 360 (jump with a complete 360 turn facing the wind), the backside 360 (like the frontside but downwind), or the front loop (360 while throwing yourself forward, head down).
Pumping and carving techniques for greater efficiency
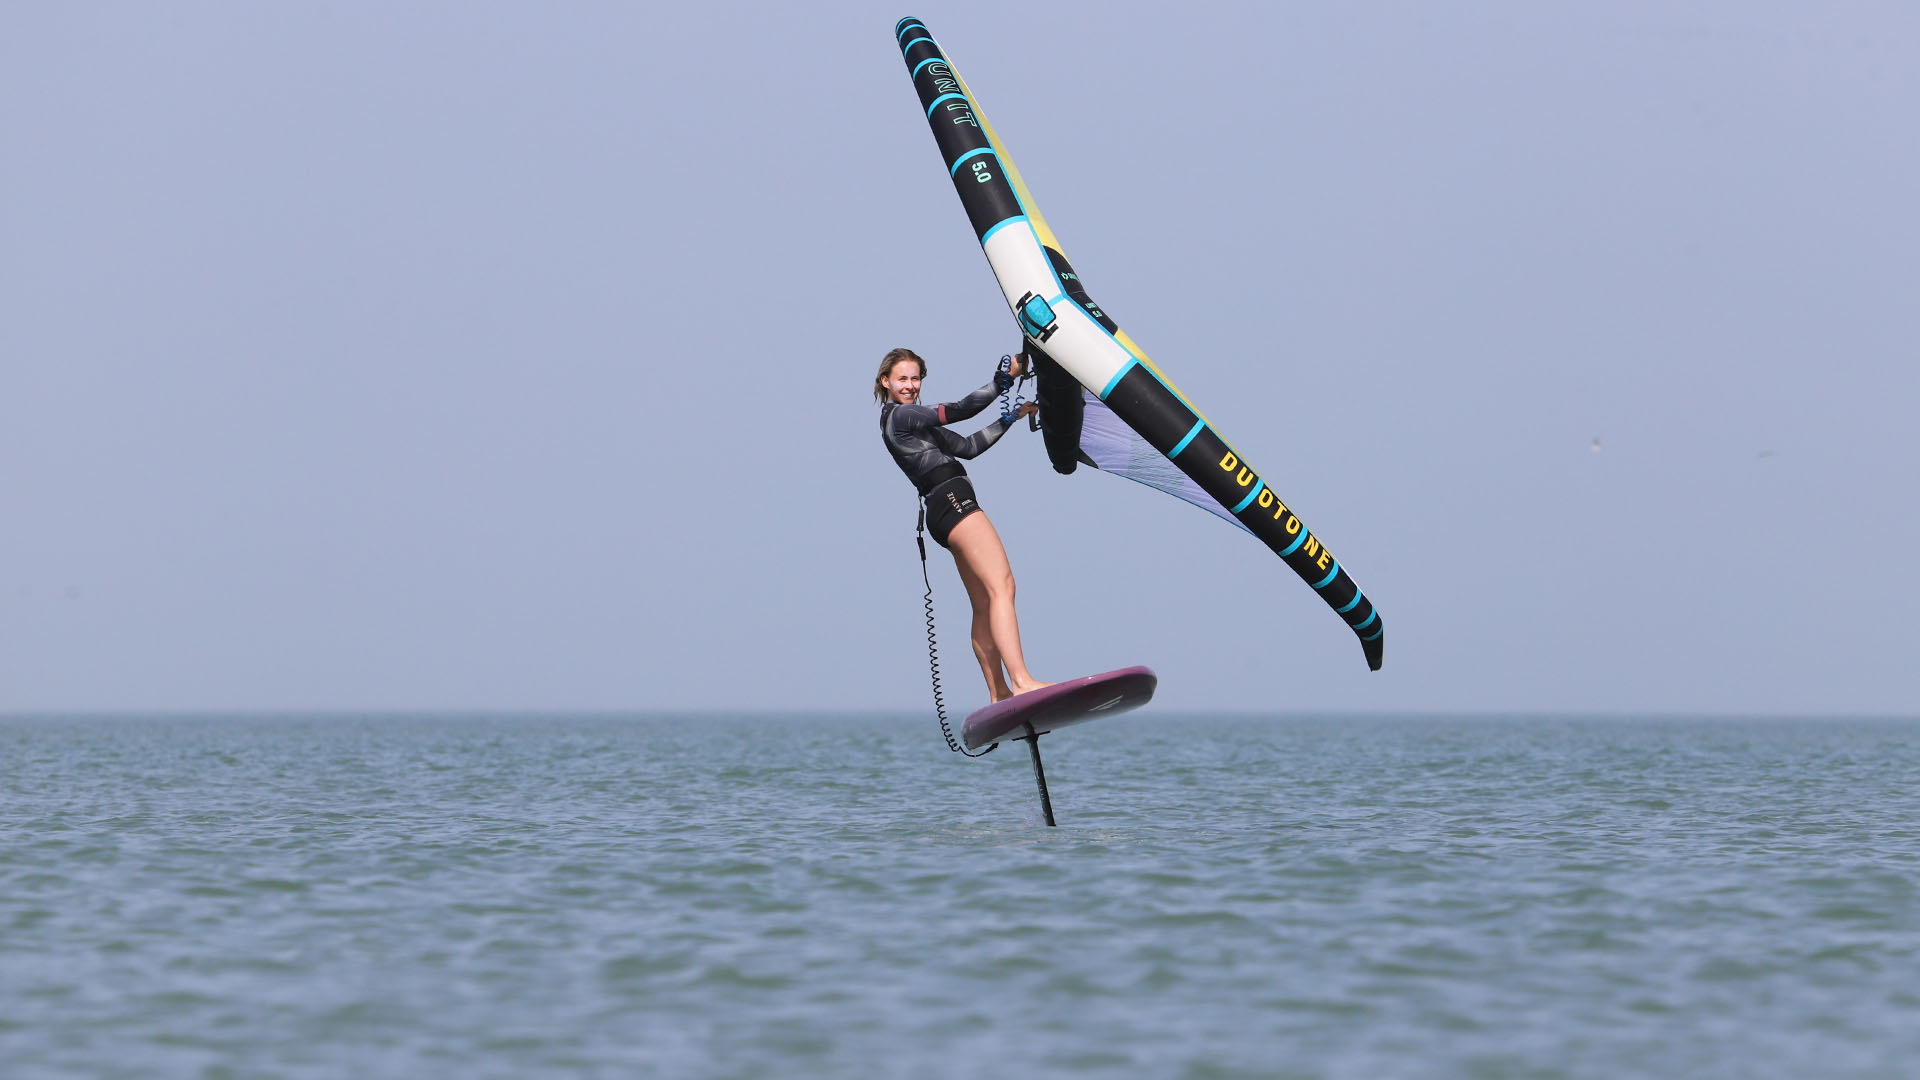
Wingfoil pumping can be used both to facilitate take-off, to get the top of the foil out of the water, and to gain speed or maintain stability once flying and the wind dies down. To do this, you first need to use your arms for the wing, and then your legs for the board, in that order.
Before you start pumping, pull down (slightly away from the wind direction) and make small circles with your wing, bringing it back towards you more sharply at the end of the circle. Your legs relax, and then you bend them by simply pressing down with the heel of your back foot. Make sure that your arms and legs are in sync with each other, and let the equipment feel that you are getting lighter and lighter as you move – it would be such a shame to tire yourself out for nothing!
When it comes to carving, once you have started, you need to be very flexible, your whole body in tune with your wing, your board, and of course, your foil! Carving in wingfoiling is all about manoeuvring and going where you want whilst riding. It is all about steering, making half-circles in the swell, starting a jibe … in a way it is the basis of wingfoiling that will make you independent, when you and your equipment become one. Lower your center of gravity slightly, bend your legs, look beyond your board, aim straight ahead, put your pelvis into action … you are dancing on the water!
Using wind and waves to your advantage: Advanced tips
The wind is your best friend as a wingfoiler! It is your engine, the element that allows you to take off and glide across the water. Once you understand how it works, you can do almost anything on the water. The key is to understand its direction and strength, and then you can play around with it and with your wing equipment.
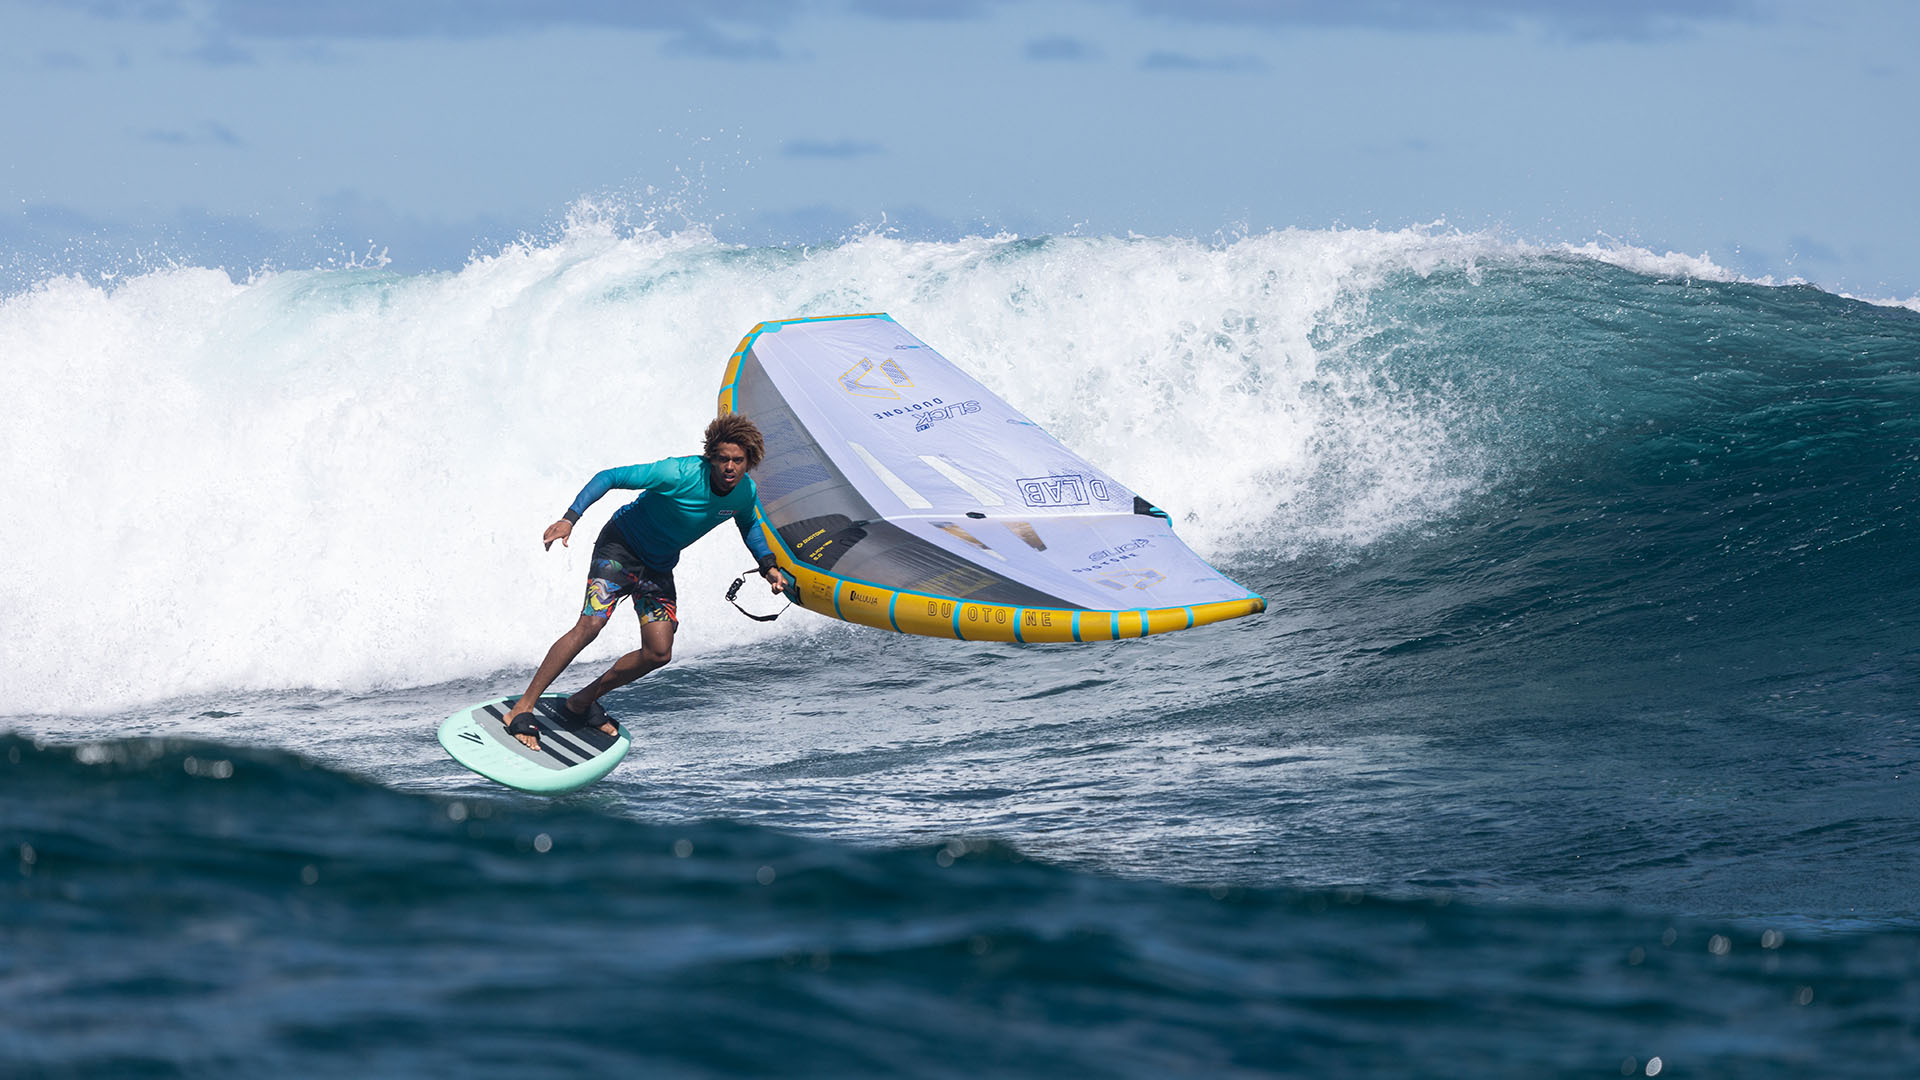
Trim your wing according to wind strength and direction, and use the waves to keep you riding, holding the wing with just one hand (free flying) while carving – it is top fun!
How to perfect your board position and balance
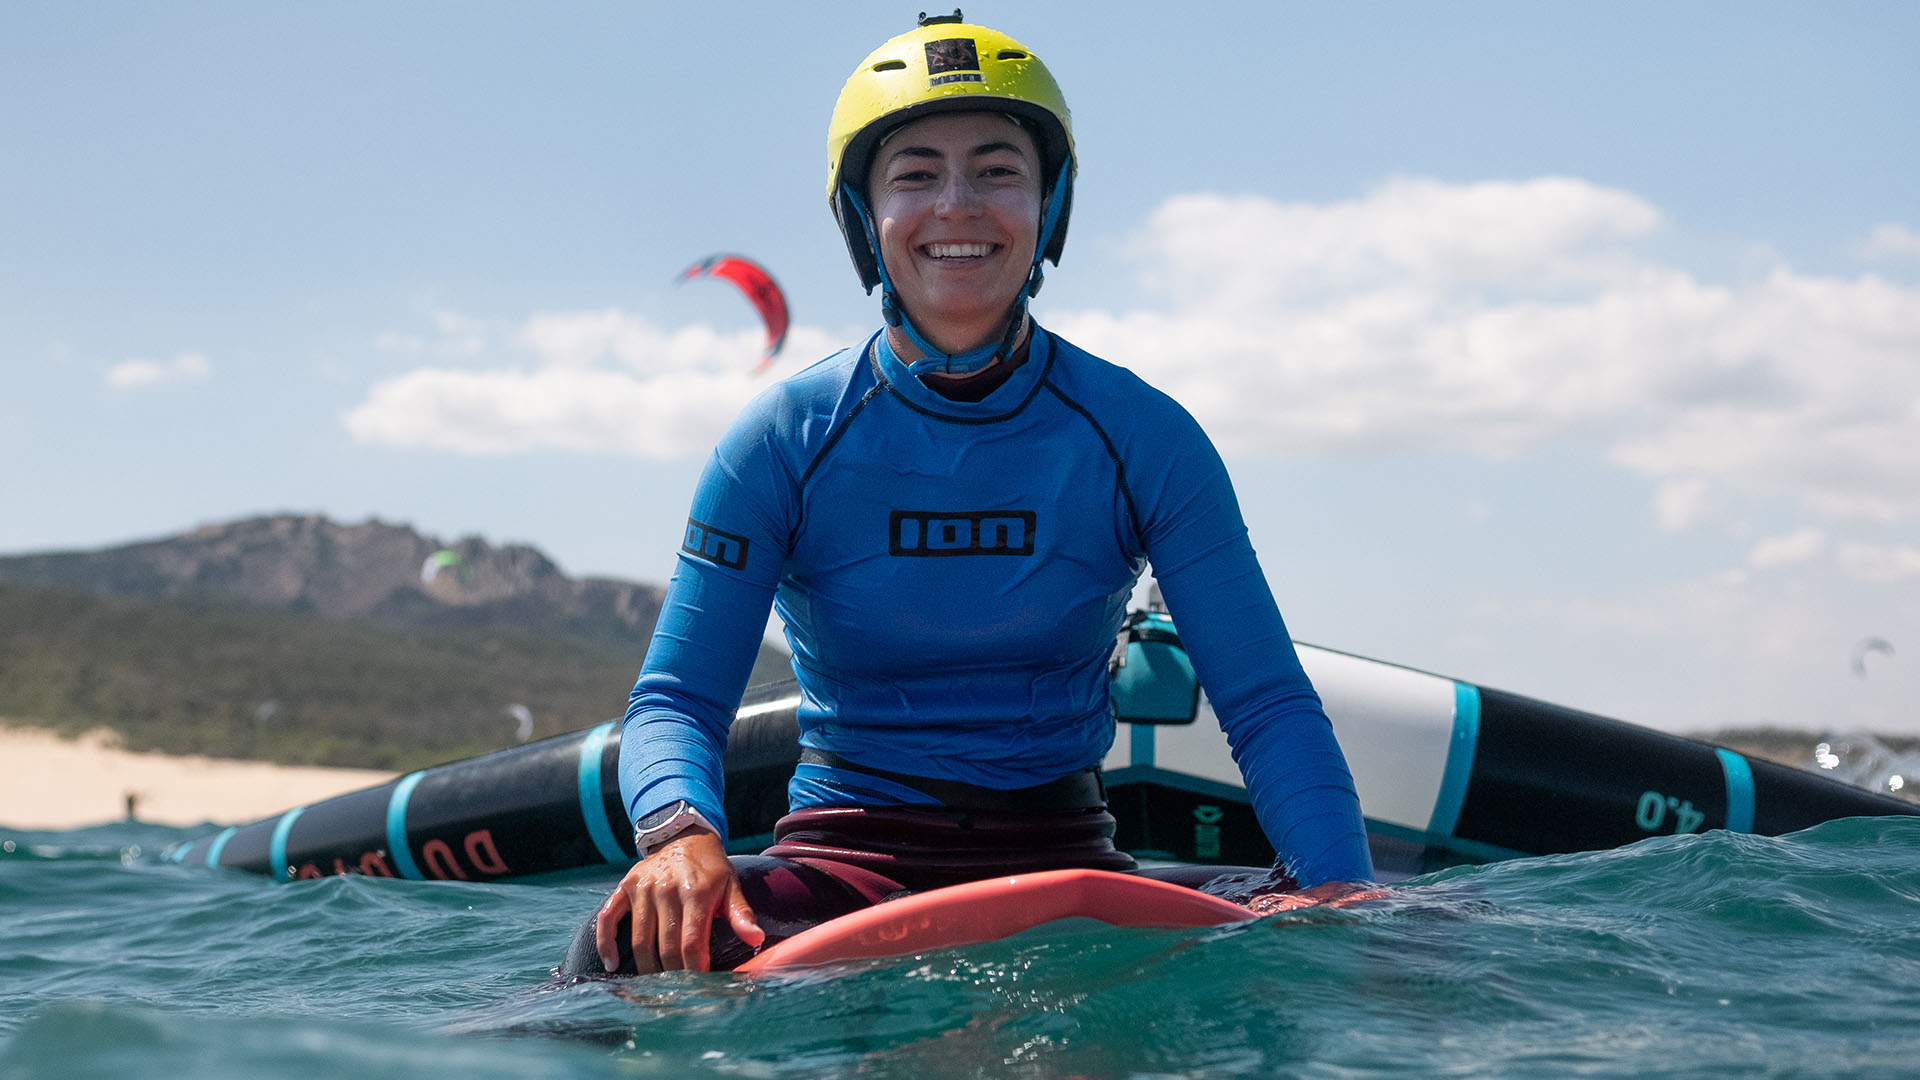
Never be too far back (especially on take-off) or too far forwards on the board in order to control trim and to maintain stability and speed in the air. Ideally, place your feet just in front of each footstrap insert (or in front of each footstrap if they are already installed), as this will help you to balance on your board. On the other hand, get the feeling that you are tucking your heels into the board, a position that is not quite upright, and above all it is your head and shoulders that will steer you first and foremost. The rest of your body will follow.
Overcoming common challenges and mistakes in advanced wingfoiling
Improving your wingfoiling skills can sometimes take a little longer than you thought. Just because you know how to fly, it does not mean that you know how to jibe or to free-fly! Above all, do not overestimate yourself when you start out, because once you are out in the open sea, you will need to get back to where you started. Master the upwind and the downwind! Choose the right wing size, a foil adapted to your level, and a board that floats if the wind starts to drop – that is one of the priorities in order not to put yourself in danger. Do not go out if the wind is blowing offshore (from the land) or too strongly for your current level!
Integrate a training routine to strengthen your skills
To become a wingfoiling pro regular practice is a must! The more you do, the faster you will progress. If you can do it in all weathers, whether 15, 25 or 35 knots, with or without swell, you are on the right track!
As for manoeuvres and transitions, keep repeating them until you get it right! For example, do not try 3 or 4 jibes per session, but instead every time you need to turn. This is the best wingfoiling training you can do!
As for equipment, always start with a board that is about 40 litres more than your body weight, so that you are comfortable and have more buoyancy before you take off. For foiling, opt for a front wing surface area of at least 1700-1800 cm². The larger it is, the easier it will be to take off. You will see that the more you progress, the more you will want to sail smaller boards and foils, in order to gain speed and comfort.
Surf Courses – Everything you need to know to get started
Surf Courses - Everything you need to know to get startedLet's talk about surfing, the real deal! Surfing has been the most popular water sport for decades and has finally become accessible to all! Things have moved on slightly since the beginning of the 20th century...
Where is the Maui of Europe to practice windsurfing?
Where is the Maui of Europe to practice windsurfing?Maui, an island in the Hawaiian archipelago in the Pacific Ocean, has a reputation as the best place on the planet for world class windsurfing, especially the Hookipa spot, or Spreckelsville for the less adventurous....
Kitesurfing in Safaga
Kitesurfing in SafagaEgypt offers many beautiful sailing spots for kitesurfers, especially near Hurghada. Safaga Bay is one of the most prestigious and well known of these spots, located on the Red Sea, only an hour's drive south of the airport.How do I get to Safaga?...

